Getting Started
Installation
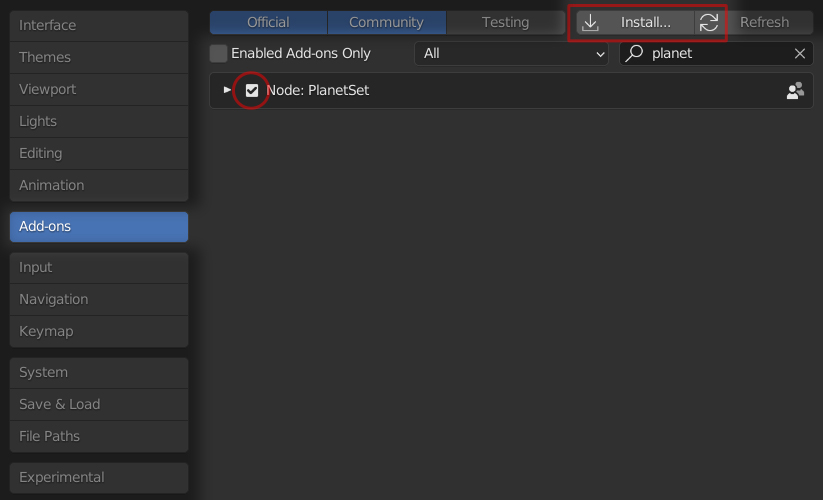
Your download will contain a file called planetset_xxxx_xx.zip (depending on version) which you will need to install and enable by going to Edit->Preferences->Addons, pressing Install and selecting the .zip file. Then you must restart Blender to complete the installation.
The UI
The PlanetSet panel is located in the 3D viewport toolbar, which can be toggled by pressing N. Most features in PlanetSet are controlled through this panel.
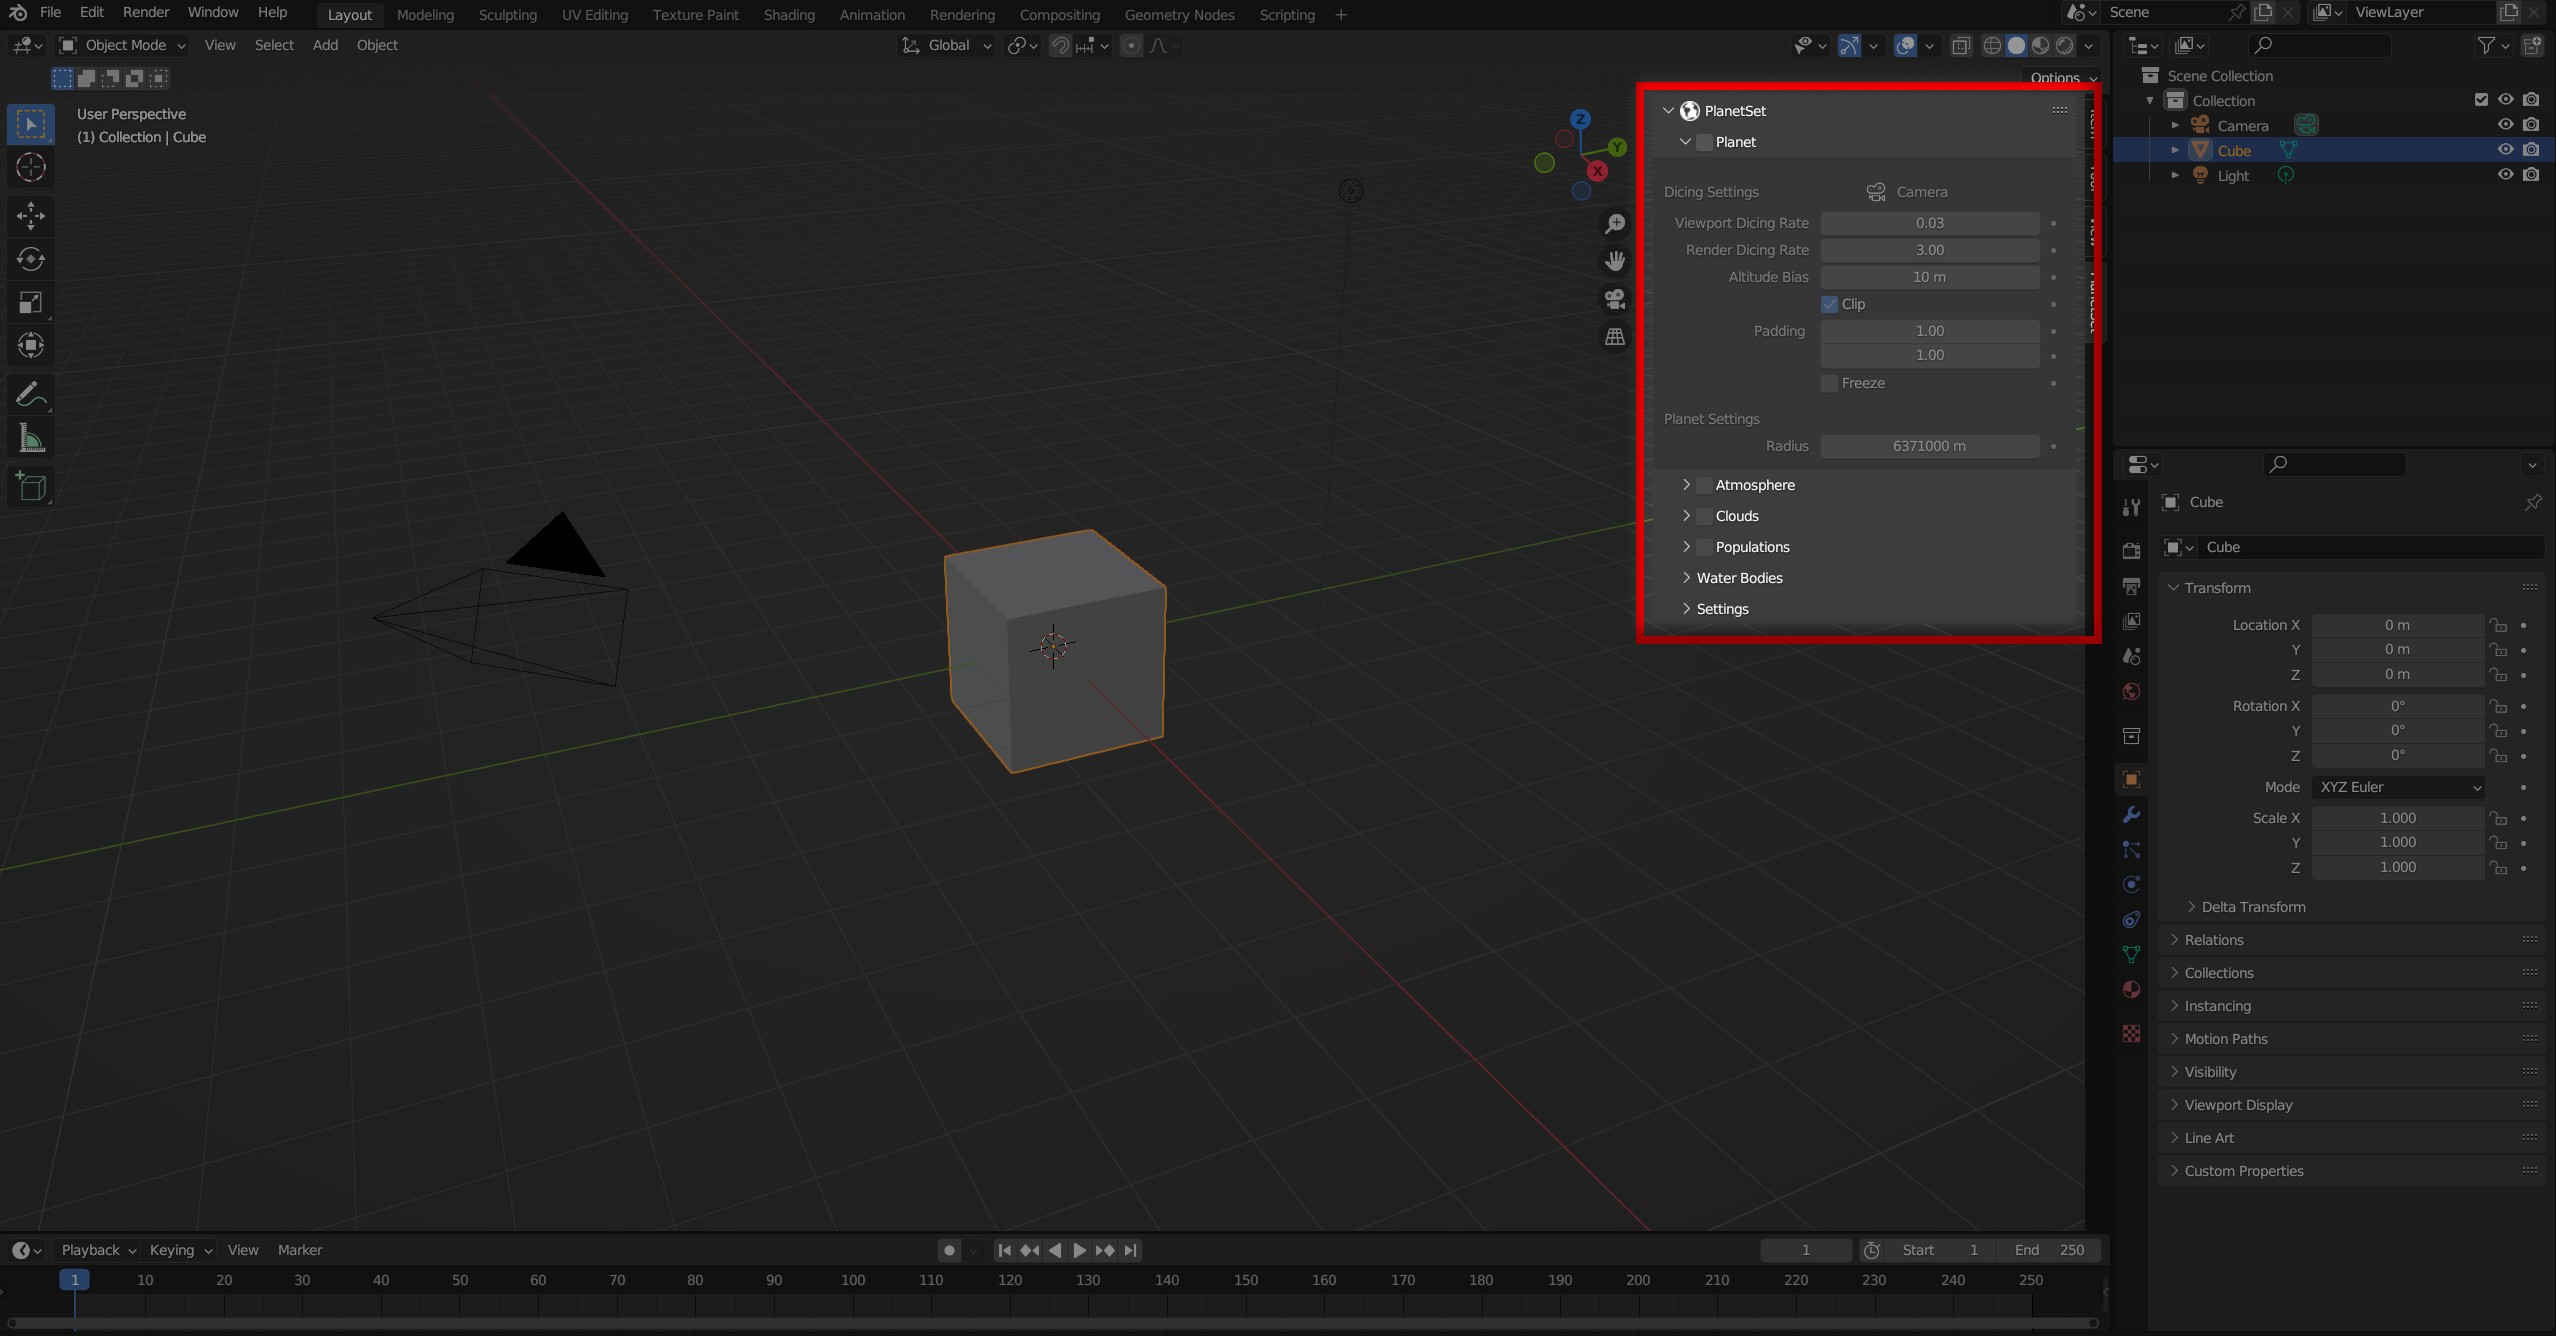
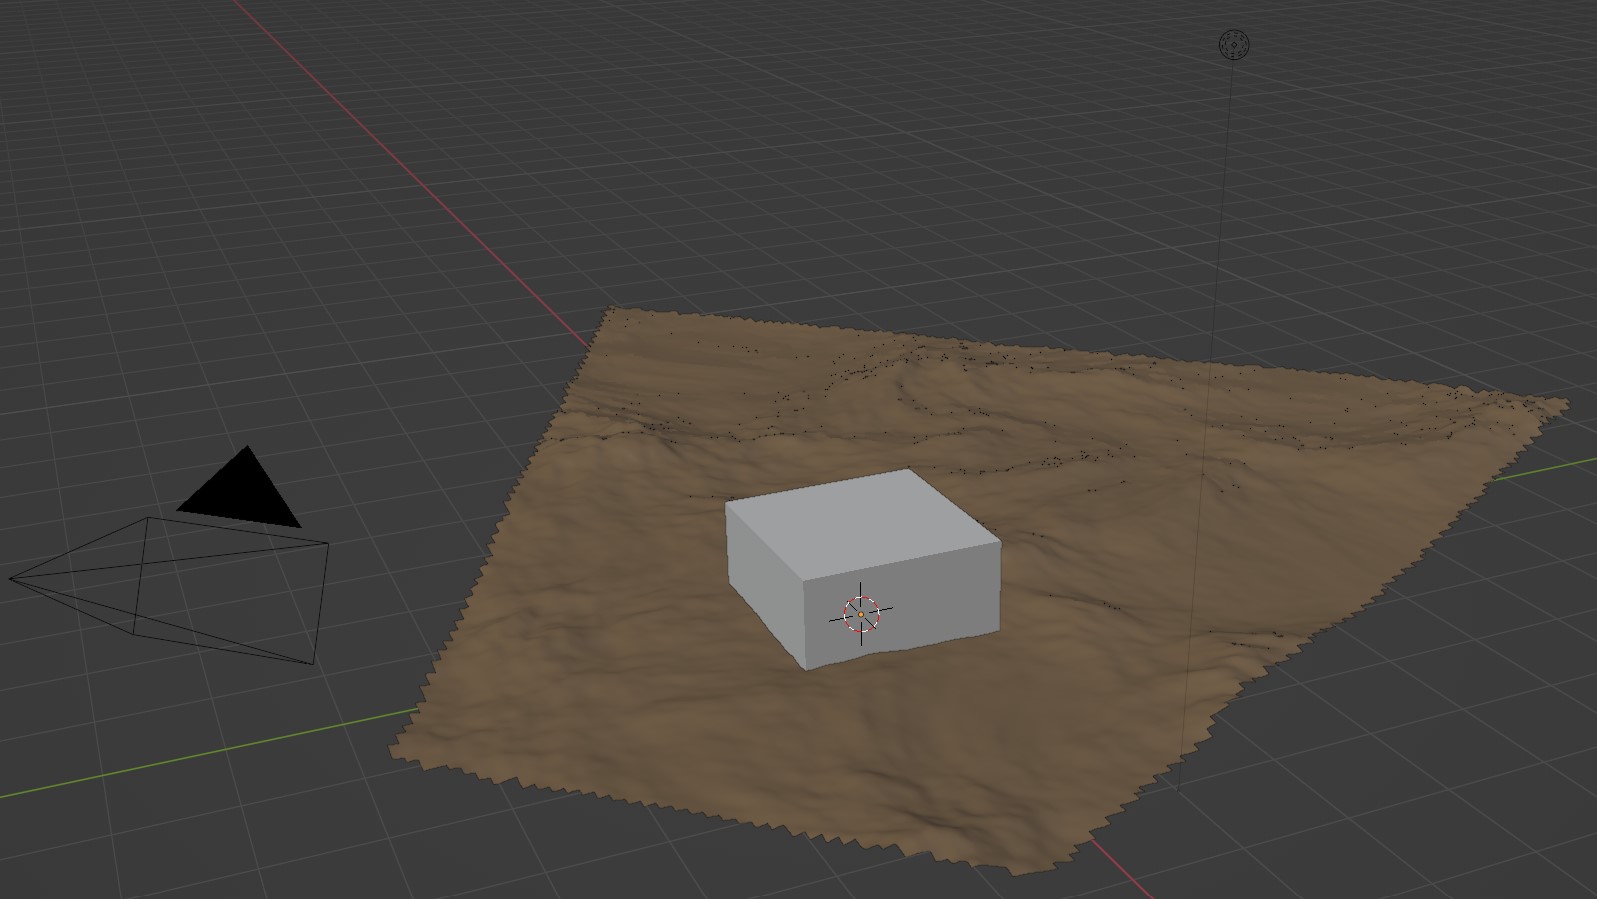
You can quickly enable/disable different components of the planet with the checkboxes in the panel headers. If a camera is present, you can enable the planet, which will create a planetary terrain in the scene.
Understanding the PlanetSet Workflow
Render Settings (Important)
PlanetSet is made to render through the Cycles render engine. In general, only two Cycles settings tend to have a significant effect on PlanetSet renders:
- The volume bounce limit affects the appearance of clouds, owing to the fact that they get their light, silver look entirely from multiple scattering.
- The volume step rate affects the maximum detail in volumes, the density and significantly impacts performance.
- Scenes with many alpha cut-out leaves will require potentially hundreds of transmissive light bounces to render correctly, otherwise foliage could appear unnaturally dark.
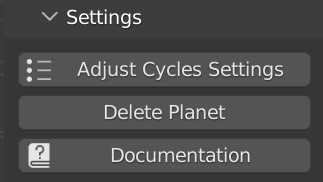
The Adjust Cycles Settings operator in the settings sub panel will automatically change the Cycles settings to a robust configuration. You can optionally make this happen automatically when enabling PlanetSet by going into the addon preferences.
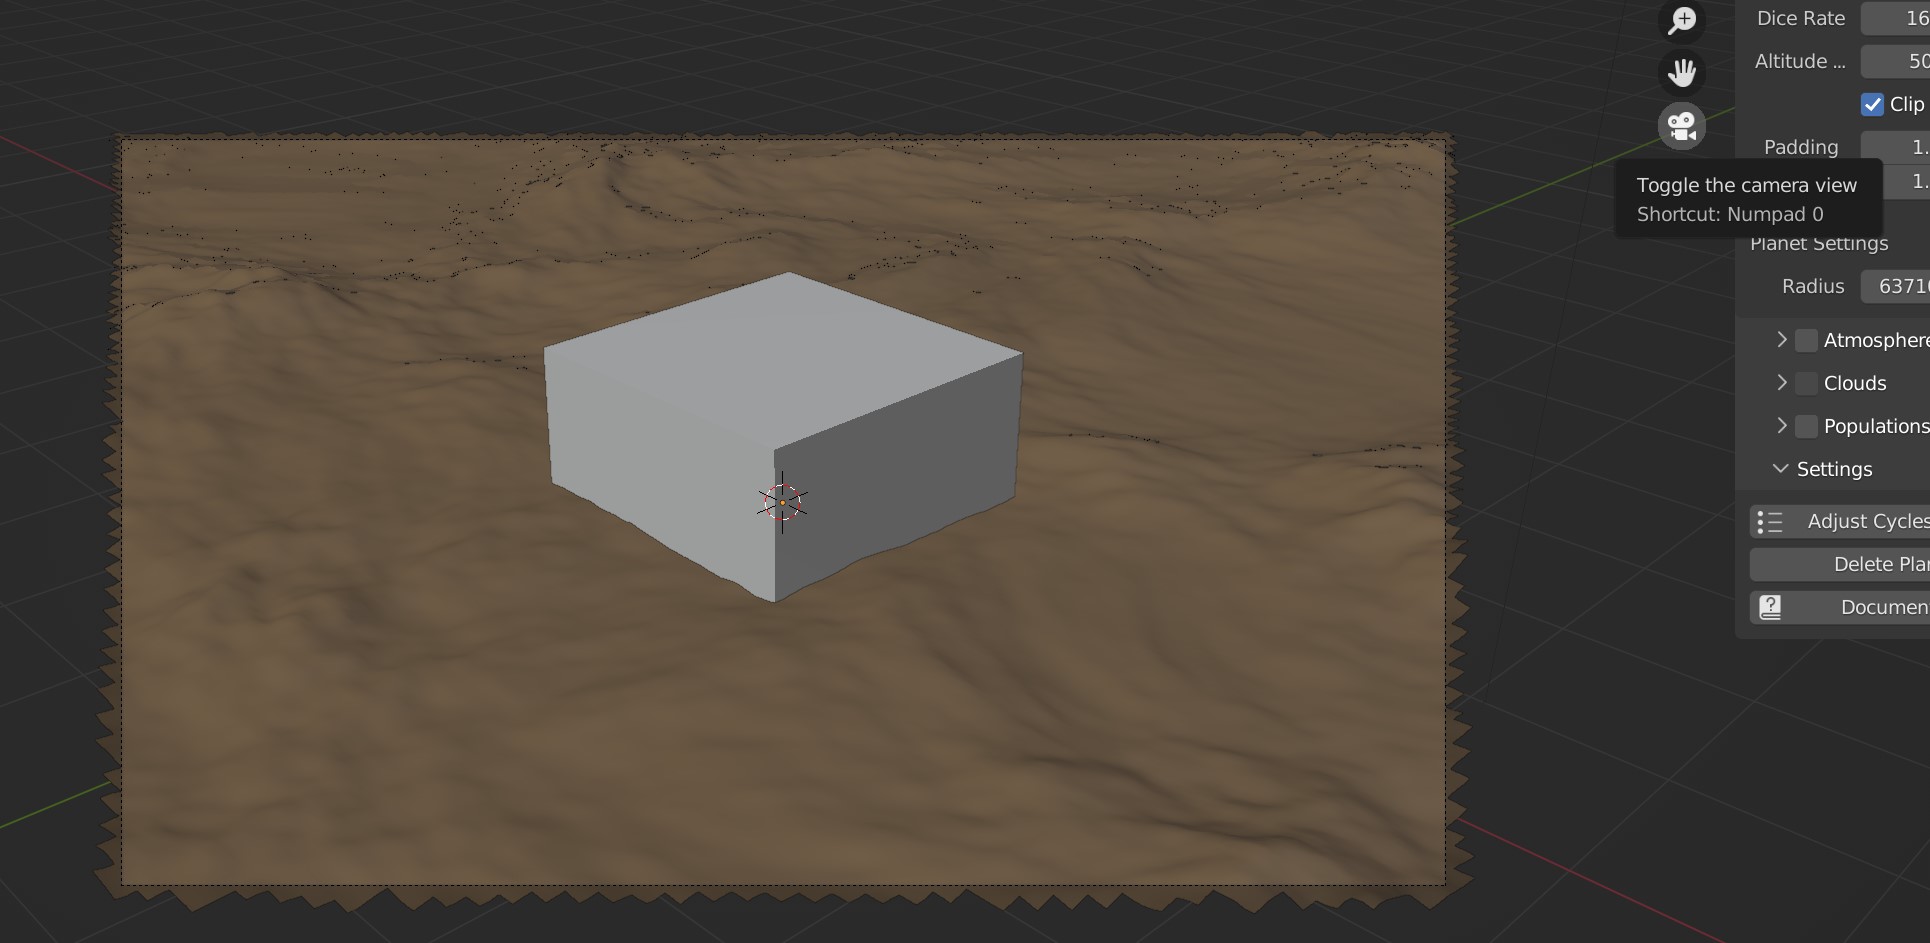
Using the Camera
Upon enabling the planet, there must be a camera present in the scene. PlanetSet will target the scene's active camera by default. You can reassign another camera by selecting it and using the Reassign Camera operator (found in the search menu).
The terrain generation process has some latency, depending on the dicing rate. You can freeze the terrain to move the camera around without the latency, then unfreeze it when finished. Alternatively, you can find the view you want using the viewport flycam, then use the Align Camera to View operator to change the camera view to the viewport view.
The terrain is diced relative to the pixel size in the camera image plane. Therefore, if you specify a higher render resolution, the terrain will be subdivided more and vice versa for a lower resolution image.
You might see z-fighting on distant terrain features due to the increased depth buffer limit. This artifact is only visible in the viewport preview and will not appear in the Cycles render. This way, you can see terrain features many kilometers away in the viewport. You can change the depth buffer settings in the addon preferences. You can also enable backface culling which will reduce some of the artifacts.
Displacement Nodes
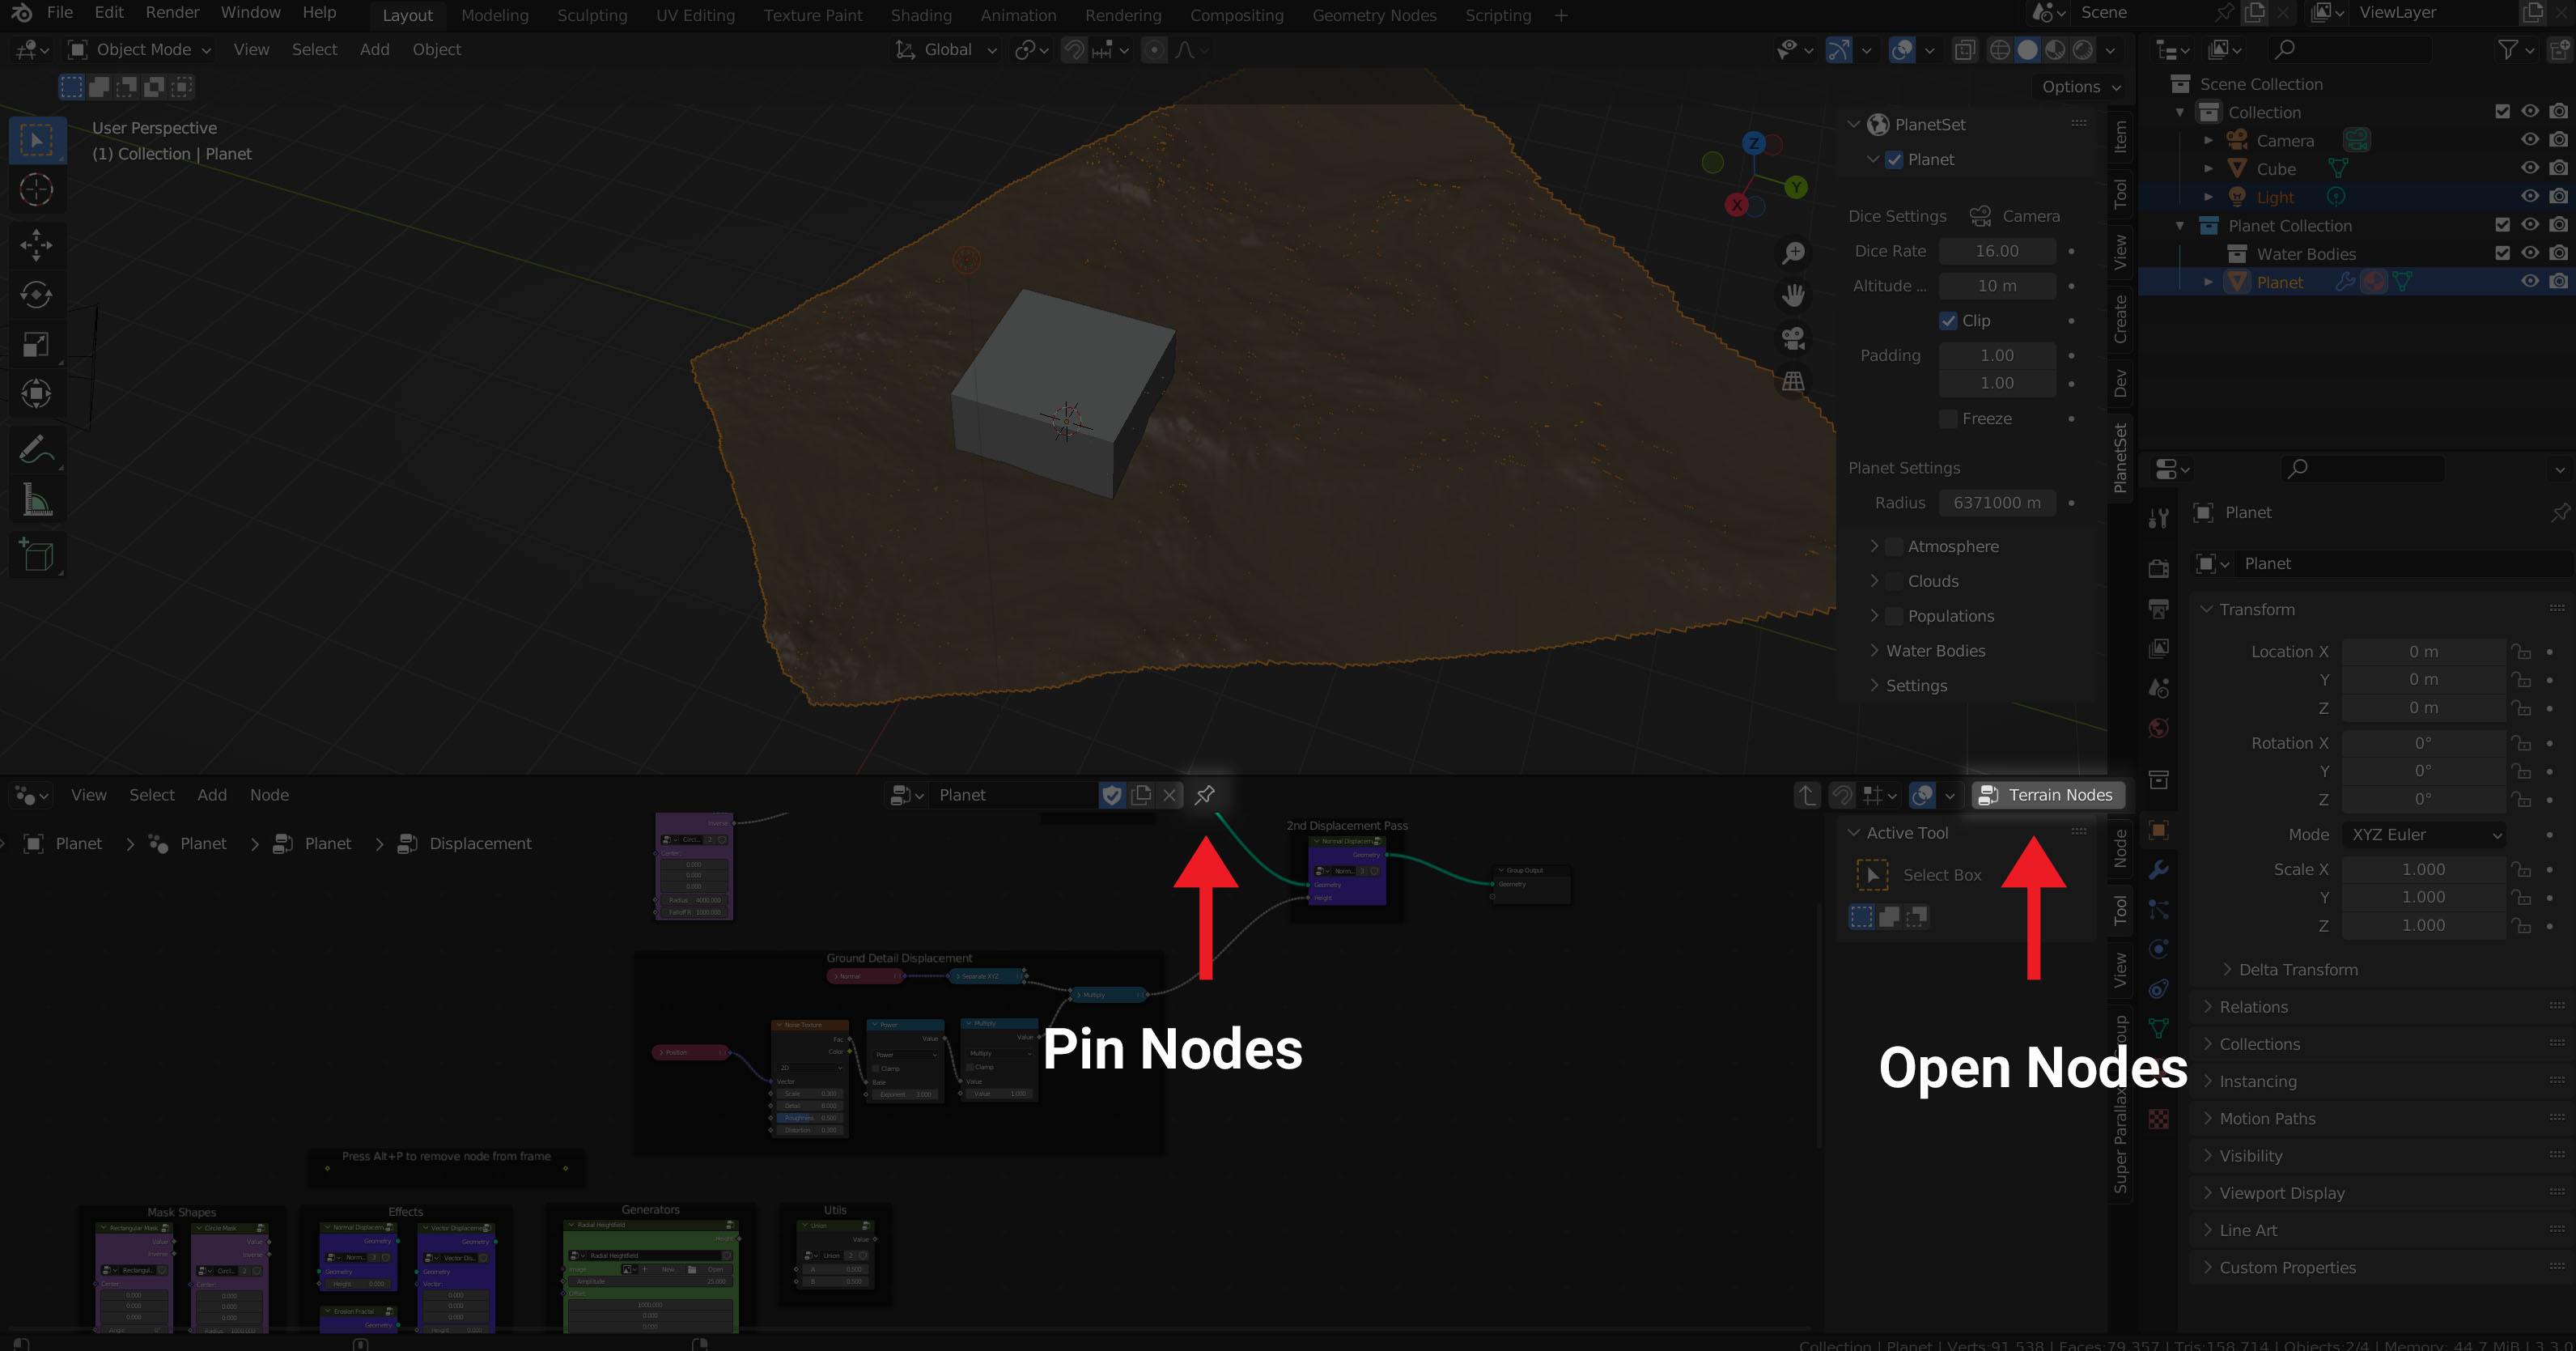
Finding the Terrain Nodes - Method 1:
The planet surface starts off as a section of smooth sphere. Using geometry nodes, this surface is then displaced as along the planets normal (or any vector you like) and the adaptive subdivision for the displacement is handled automatically. To access the displacement node group, open the geometry nodes editor and press the Terrain Nodes button in the top right corner. You can also pin the nodes so they don't go away when other objects are selected.
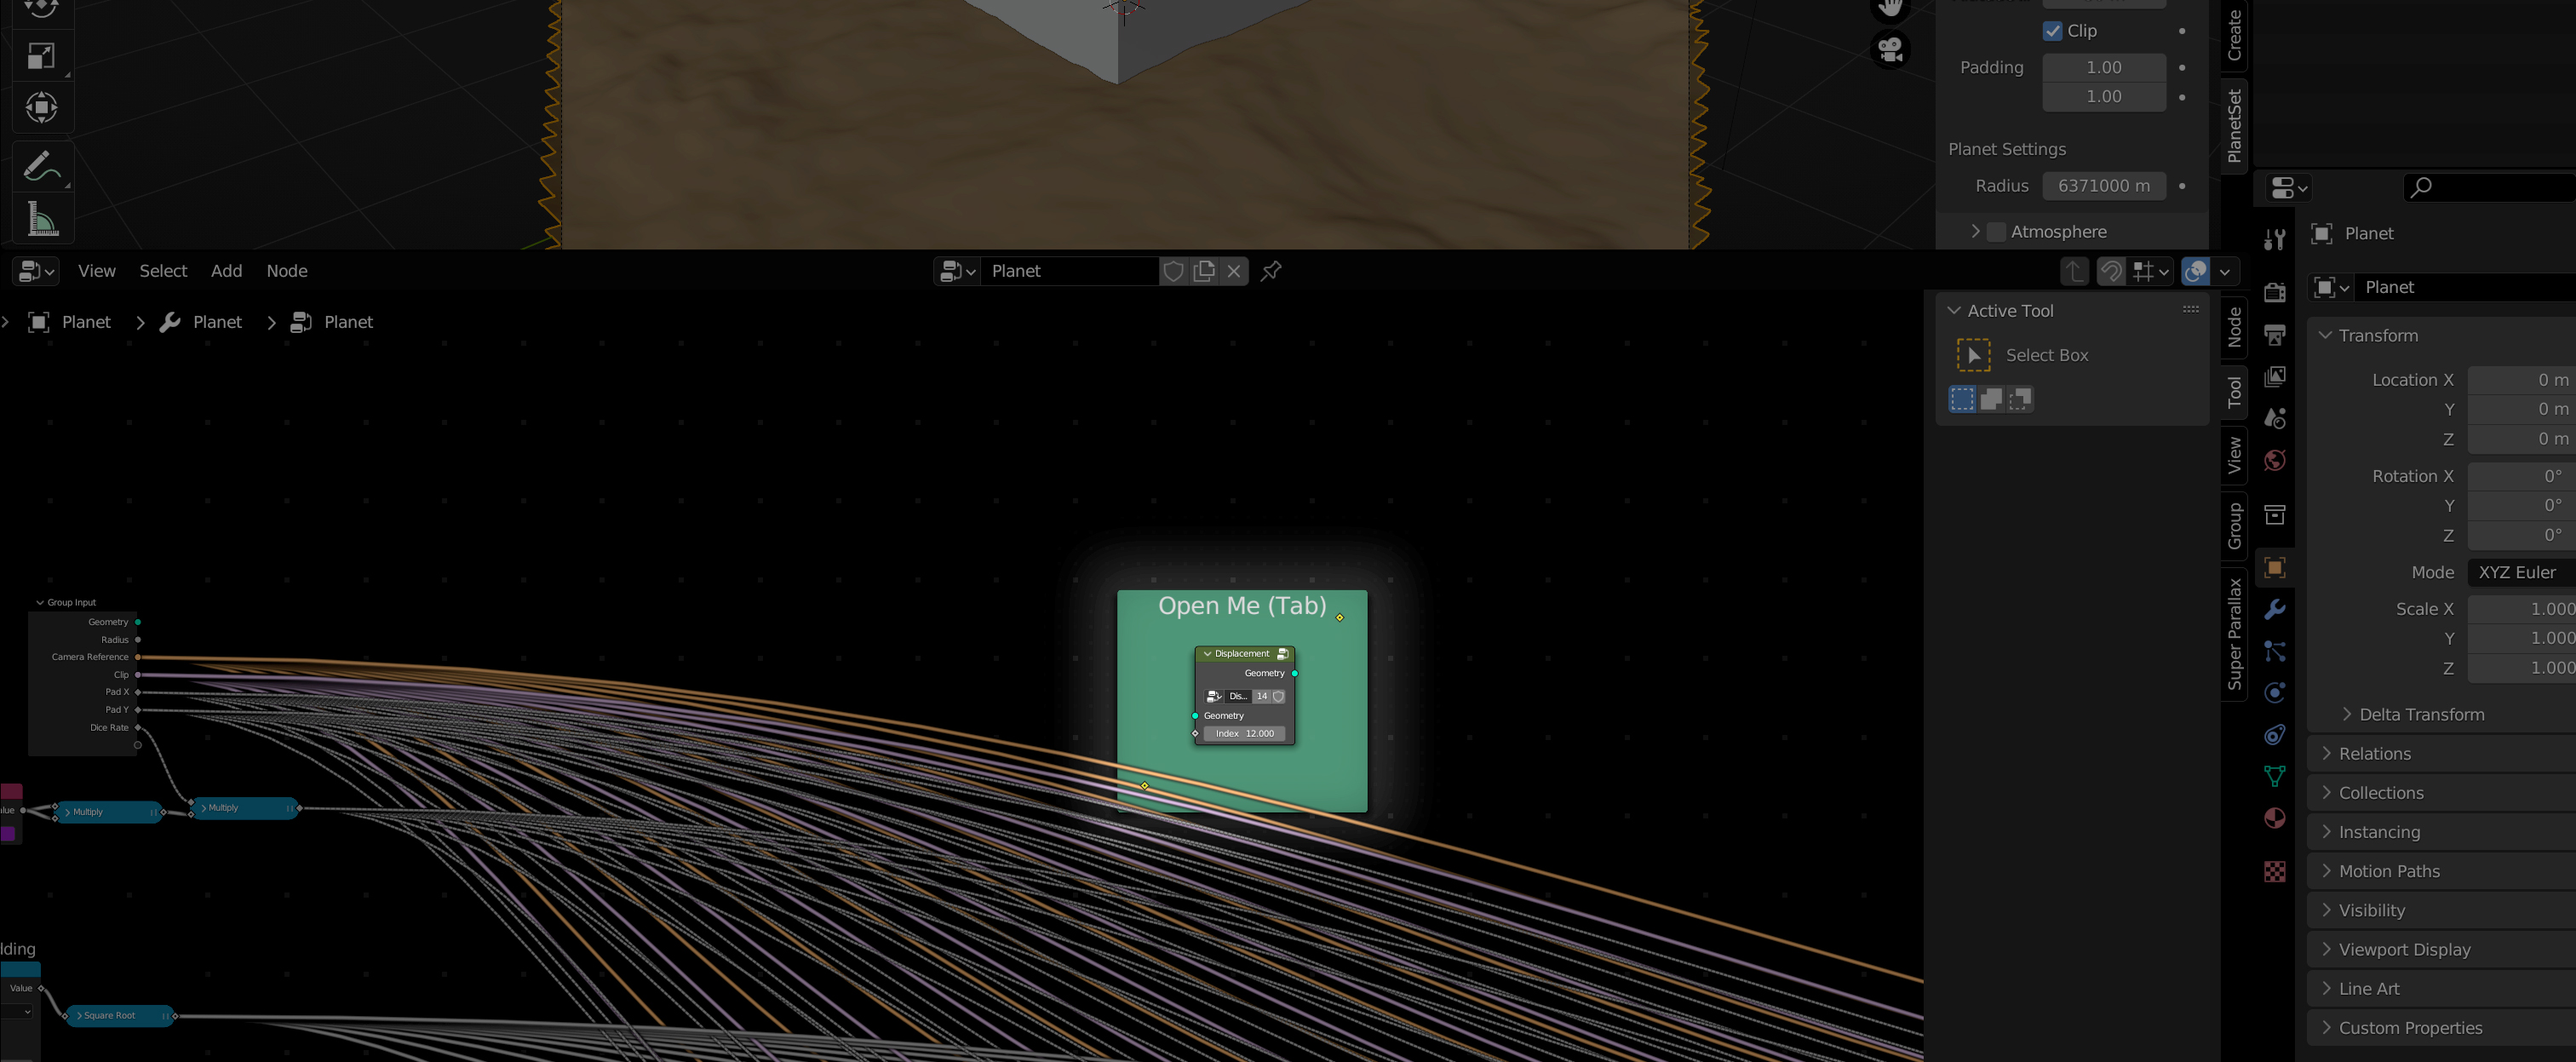
Finding the Terrain Nodes - Method 2:
Alternatively, you find the node group called 'Displacement' (in the green frame) in the Planet modifier and open the group by pressing Tab with it selected. You can also find the ocean displacement nodes in the Planet Ocean modifier, if you have ocean enabled.
Terrain Nodes
Displacement works similarly to how it would normally in Blender, but by instead passing the terrain geometry through a displacement node.
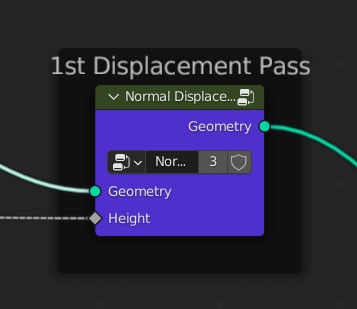
Displacement is typically done along the surface normal, but you can use the vector displacement node to displace along any arbitrary direction.
Displacements can be stacked in multiple passes. The default node network has two displacement passes: the first for the main terrain and the second for ground details.
See the tutorials for more information about Geometry Nodes terrain.