Introduction to Terrain
Terrain in PlanetSet is created using Geometry Nodes, since this system provides the most flexibility. Specifically, all modifications made to the terrain are done inside the in the Displacement node group, which is part of the Planet object.
Inside the displacement group node, there is a geometry input and a geometry output. The input geometry is simply a smooth spherical planet surface (which appears flat when you are close to the surface). By modifying this base shape using geometry nodes, we can make it into a terrain geometry and feed it to the output of the Displacement node group.

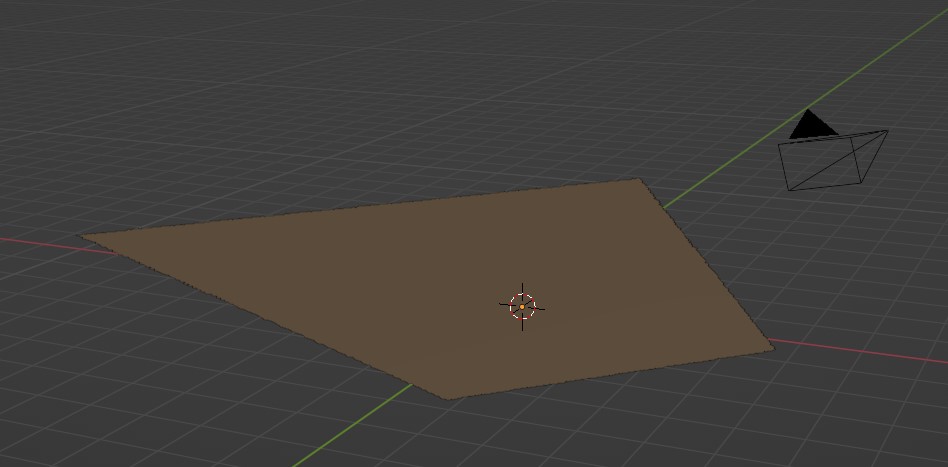
To show the smooth planet surface, open the Displacement geometry nodes group and connect the geometry input to the geometry output:
![]()
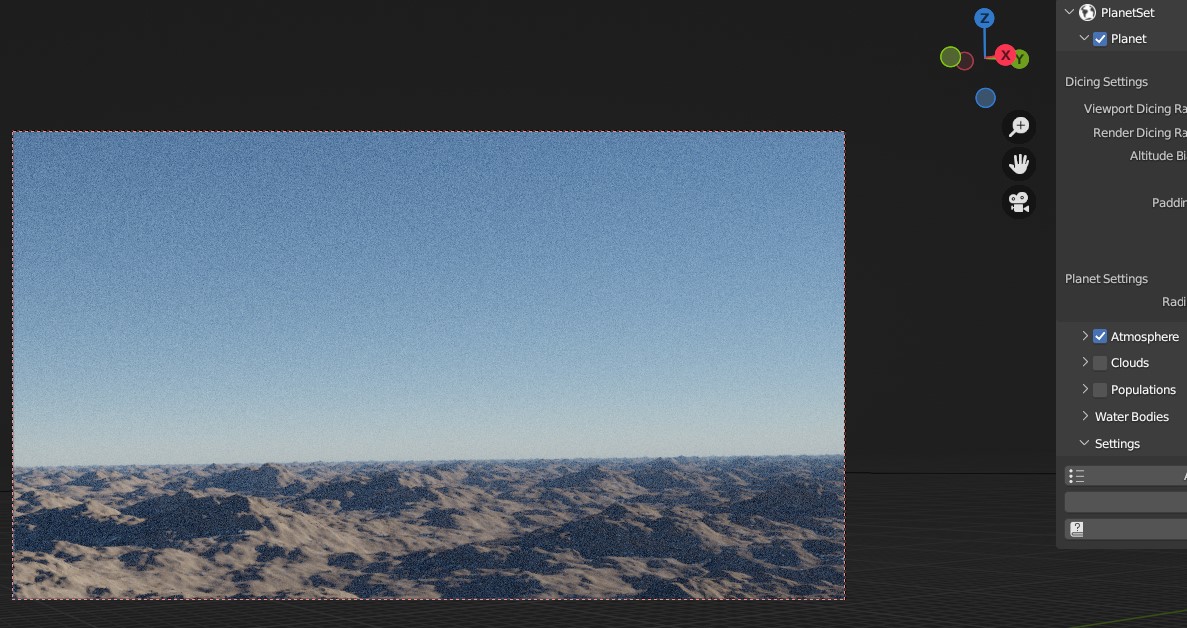
Which will produce a flat surface like this:
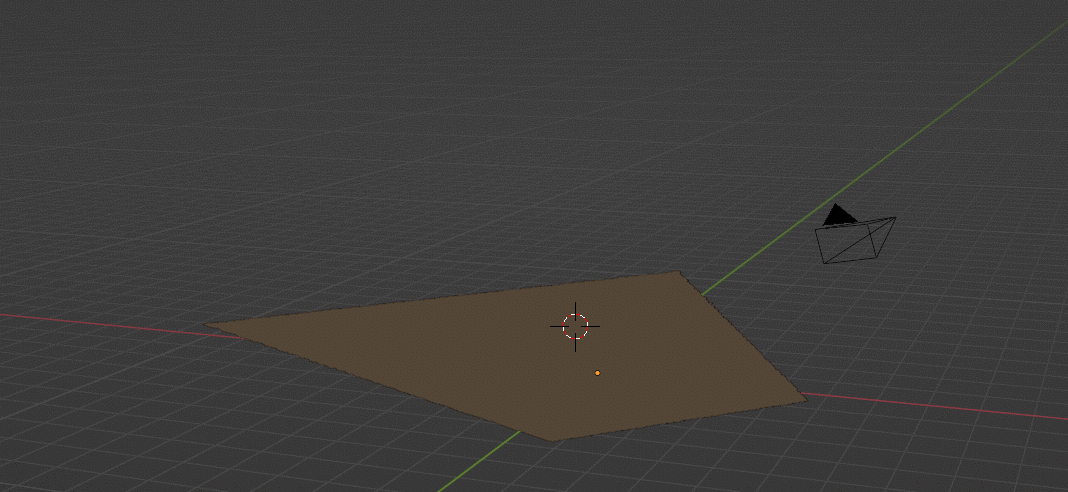
You can see it goes all the way to the horizon by changing the camera view:
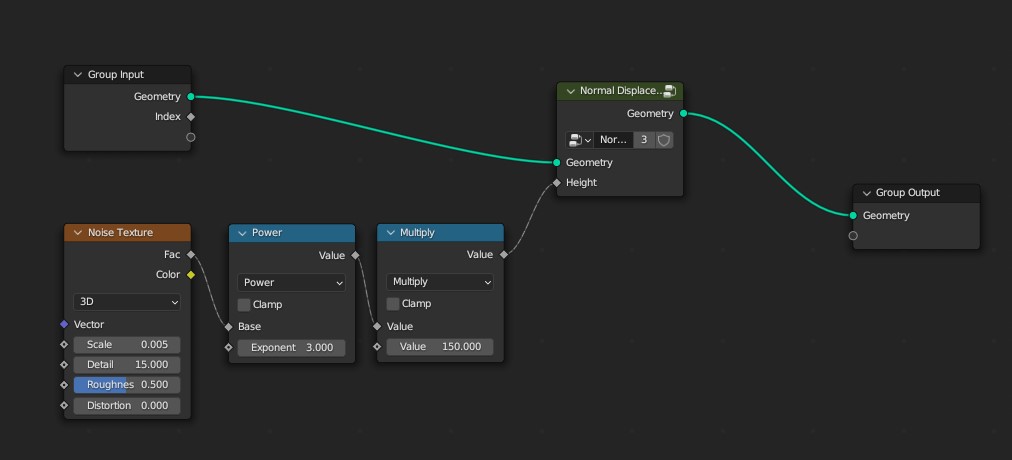
Let's create a really simple terrain with noise by using the following setup:
- The
Powernode adds 'contrast' to the noise texture, making the hills more pointy. - The
Multiplynode is necessary to make the mountains tall. The noise node outputs values in the range [0, 1], which corresponds to the displacement distance, so we need to multiply it to make it larger. - The
Normal Displacementnode is a preset node group available in theAdd->Groupmenu. It takes the current geometry and applies the height displacement along the surface normal.
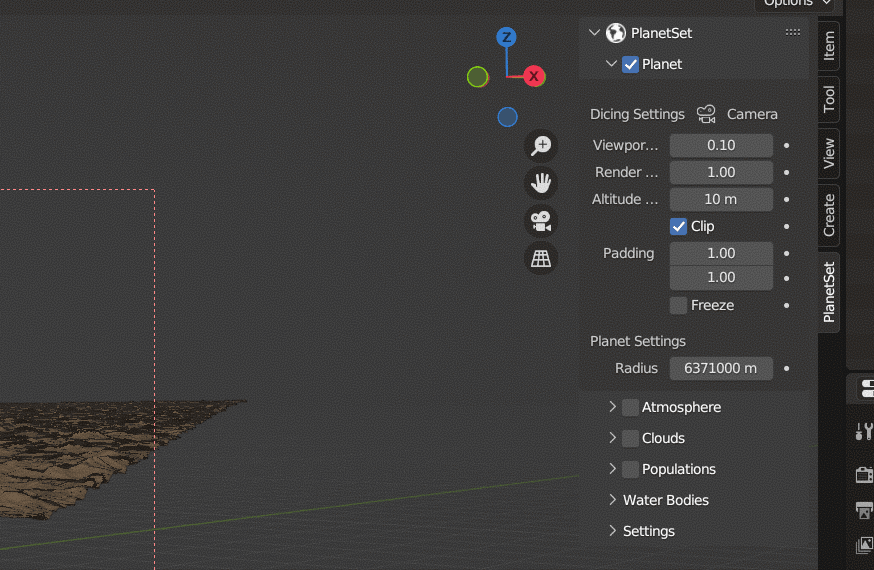
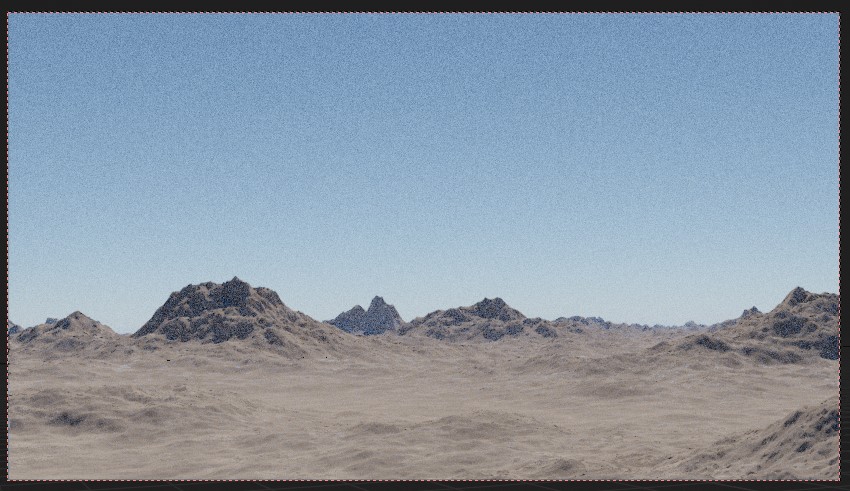
This is the result:

Noise is procedural, so this works all the way to the horizon!
Let's preview this in Cycles. It's reccommended to use the Auto Adjust Cycles Settings operator for rendering PlanetSet scenes.
Also enable the atmosphere for lighting!
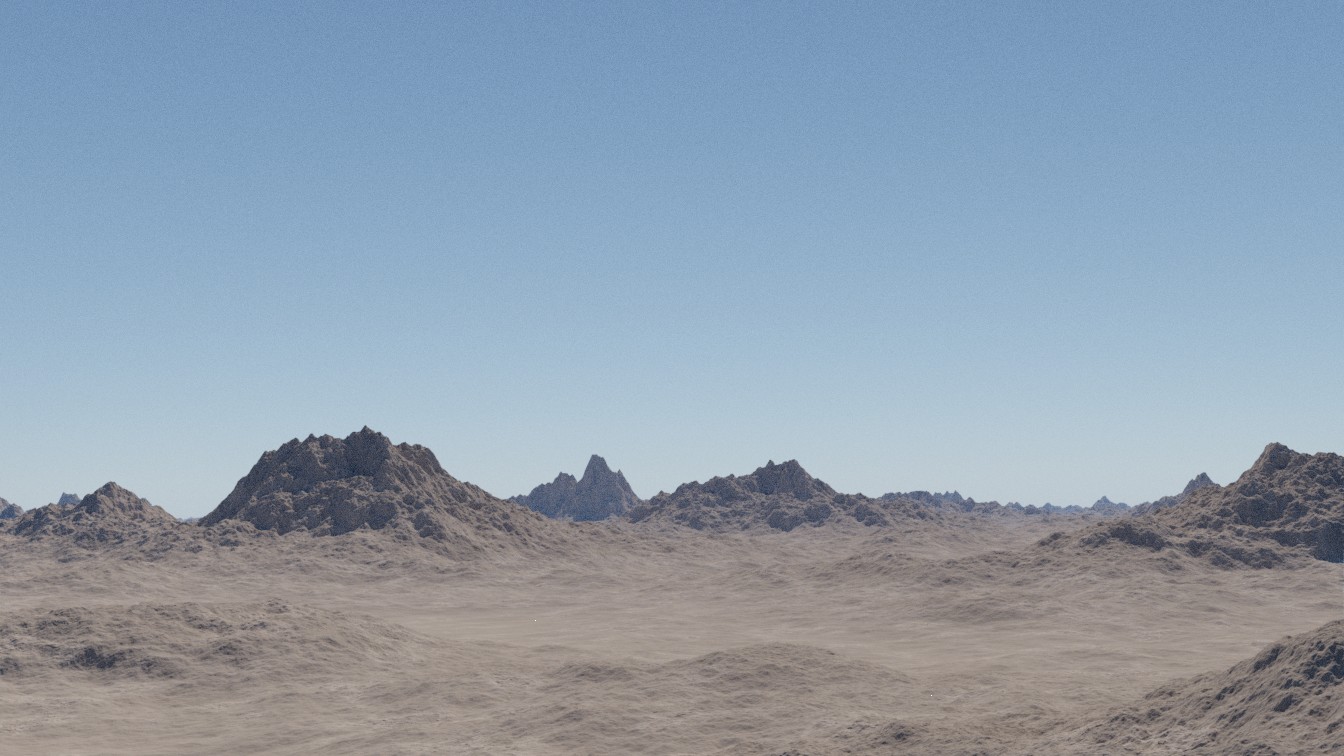
By turning up the power to 6 and the multipler value to 400, we get larger valleys between the mountains:

And hitting render with a 4 facets per pixel dicing rate...
This is a simple example, but many different landscapes can be made using noises alone. Next, we will look at using more complex noises to make terrain.